Understanding MiniDV Tapes and Their Importance
In the realm of video recording technology, MiniDV tapes played a pivotal role from the late 1990s to the early 2000s, marking a significant advancement in compact tape storage. MiniDV, a digital video format, was widely adopted for its balance of quality and portability, allowing consumers and professionals alike to capture high-resolution video without the bulk associated with earlier formats. Given the rapid shift toward digital storage solutions, understanding the role and importance of MiniDV tapes is crucial for those looking to preserve their cherished memories. The process of converting Minidv to digital not only enhances accessibility but also safeguards these memories for the future.
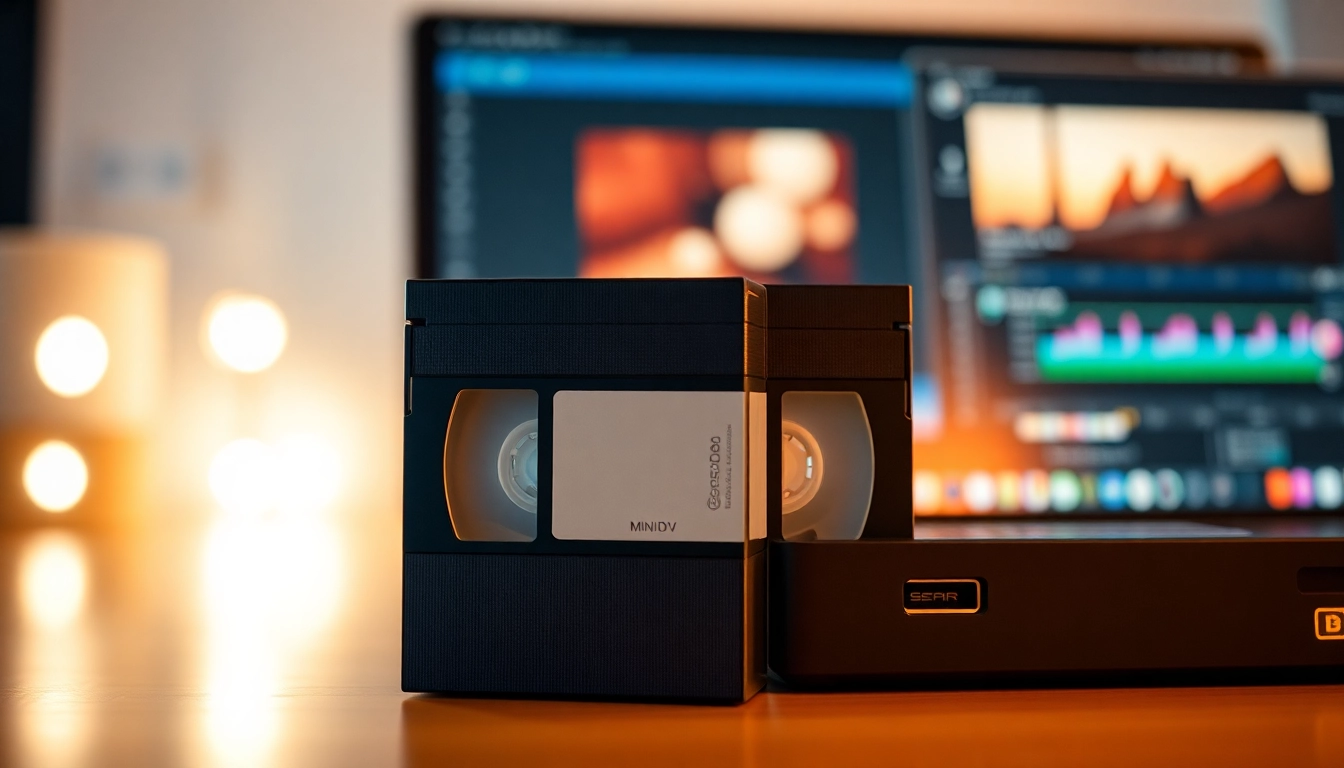
What is MiniDV?
MiniDV is a digital video recording format that uses a small cassette to store digital video data. Introduced by JVC in 1996, MiniDV offered a significant advantage over its analog predecessors by utilizing digital compression techniques, which allowed for higher quality recordings in a smaller physical form factor. Each MiniDV tape can hold up to 60 minutes of video in SP mode and up to 90 minutes in LP mode, with a resolution of 720×480 pixels.
The Historical Significance of MiniDV Tapes
MiniDV tapes revolutionized the way videos were recorded and edited, providing a bridge between analog and digital media. Their introduction coincided with the rise of consumer camcorders, enabling families and amateurs to create home videos with a quality that rivaled professional productions. Additionally, MiniDV became a staple in the filmmaking community, with many indie filmmakers relying on this format for short films and documentaries, primarily due to its economic viability compared to larger, more expensive formats.
Common Issues with MiniDV Tapes
Despite their popularity, MiniDV tapes are not immune to physical deterioration and data loss. Over time, tapes can suffer from a variety of issues, including tape wear, mold growth, and physical damage from improper storage practices. Frequently, the magnetic tape can degrade, leading to loss of video quality or even complete loss of footage. These issues underscore the importance of digital conversion to ensure these cherished memories are not lost to time.
Why Convert MiniDV to Digital?
Converting MiniDV to digital offers several advantages that extend beyond mere convenience. With the decline in MiniDV camcorders and VCRs, digital formats have become not only a necessity but also a means of preservation.
Benefits of Digital Storage
Digital storage provides a level of durability and accessibility that physical tapes cannot match. Digital files are immune to the decay and wear that afflict traditional tapes, ensuring that your recordings remain intact for years to come. Additionally, digital files can be easily backed up on multiple devices or online storage services, enhancing security and ensuring that your memories are protected against unforeseen events such as fires, floods, or theft.
Preservation of Quality and Accessibility
When you convert MiniDV tapes to digital, you preserve the original quality of the footage, while also making it more accessible. Digital files can be easily edited, shared, and played on a variety of devices with minimal loss in quality. This flexibility allows you to create compilations, share clips with family and friends, or even post favorite moments online, ensuring that your memories remain alive and vivid.
Cost-effectiveness of Digital Formats
While the initial cost of conversion may seem high, the long-term savings associated with digital storage can be significant. Digital formats eliminate the need for costly tape storage solutions, minimize the risk of losing valuable footage, and reduce the need for specialized playback equipment. Furthermore, as technology evolves, digital formats are continually updated, ensuring compatibility with new devices and evolving technology, whereas physical formats can become obsolete.
Methods for Converting MiniDV to Digital
There are several methods available for converting MiniDV to digital, each with its own pros and cons. The chosen method often depends on individual preferences, technical skills, and the available equipment.
Using a MiniDV Camcorder
The most straightforward method involves using a MiniDV camcorder to play back the tapes. By connecting the camcorder to a computer via a FireWire or USB interface, users can transfer the footage directly to their digital systems. This approach requires minimal additional investment if you already possess a MiniDV camcorder, but it also relies on the working condition of both the camcorder and the tapes.
Employing Specialist Conversion Services
For those who might find the process daunting or lack the necessary equipment, specialist video conversion services can provide a hassle-free option. These services are equipped with professional-grade equipment and expertise to ensure high-quality conversions. They also often provide additional options such as editing services, enhancing the video quality, and even creating DVD or digital files in various formats. While this option may carry a higher cost, it guarantees that the conversion process will be executed by professionals.
Do-It-Yourself Conversion Techniques
Tech-savvy individuals may consider a DIY conversion approach using video capture cards or devices. This method involves connecting the MiniDV camcorder to a computer equipped with video capture software, allowing the user to capture and digitize the footage directly. While slightly more complex, this method can be cost-effective for those who wish to manage their archives and may lead to additional opportunities for video editing and enhancement.
Best Practices for MiniDV to Digital Conversion
To ensure the best results during your MiniDV to digital conversion, it’s essential to follow some best practices that can preserve your original content’s integrity and quality.
Choosing the Right Equipment
Investing in the appropriate equipment is crucial for achieving high-quality digital conversions. Whether you opt for a professional service or a DIY method, ensure that the devices you use—be it a camcorder, video capture device, or software—are reputable and compatible with your MiniDV tapes. Additionally, consider utilizing devices that support high-quality playback to maintain the visual and audio integrity of the original footage.
Ensuring Quality During the Transfer
During the transfer process, maintain a stable environment. Avoid physical vibrations or interruptions that may impact the recording quality. Furthermore, opt for high-quality cables and connectors to prevent data loss during transfer. If you’re using software to capture video, ensure that the settings are optimized for the best audio-visual quality. It’s often recommended to keep the original tapes in a cool, dry location and only handle them when necessary to minimize potential damage.
Storage Solutions for Digital Files
Once the conversion is complete, it’s important to store the digital files properly. Use multiple storage solutions, such as external hard drives, cloud storage, and even physical backups like DVDs or Blu-rays. Structured labeling and organization can help ensure easy retrieval and access. Regularly check the integrity of your digital files and maintain redundant backups to ensure your memories remain safe over time.
Common Challenges and Solutions in Conversion
As with any technical process, converting MiniDV to digital can present several challenges. Understanding these common hurdles and their solutions can streamline the conversion process.
Dealing with Damaged Tapes
Damage to your MiniDV tapes can severely hinder the conversion process, leading to loss of footage or degraded quality. If you encounter damaged tapes, it’s advisable to consult with professionals who specialize in tape repair. They have access to restoration techniques that can minimize data loss. Additionally, consider employing restoration software to recover footage if physical repairs are unsuccessful.
Maintaining Audio Quality During Transfer
Audio clarity is just as vital as video quality, and transferring audio data can be tricky. Ensure all audio connections are secure and use high-quality connectors. When using software for digitization, monitor the audio levels during the transfer to avoid distortion. Following the transfer, listen through the digital file to verify the audio quality and address any discrepancies before final storage.
Addressing Format Compatibility Issues
Once converted to digital formats, compatibility can sometimes become an issue across different devices or platforms. Opt for widely accepted file formats such as MP4 or .MOV for maximum compatibility across devices and platforms. It may also be useful to check that your video editing software supports these formats in case you plan to edit or repurpose your footage in the future.