Understanding Tapes To Digital Conversion
The transition from analog to digital has made significant impacts on how we store and access our memories. Tapes To Digital conversion is the process of transforming physical tape formats such as VHS, Betamax, and other video and audio tapes into digital files. This transformation opens up new possibilities for storage, sharing, and preservation, ensuring that valuable memories are safeguarded against the risks of degradation inherent to physical formats.
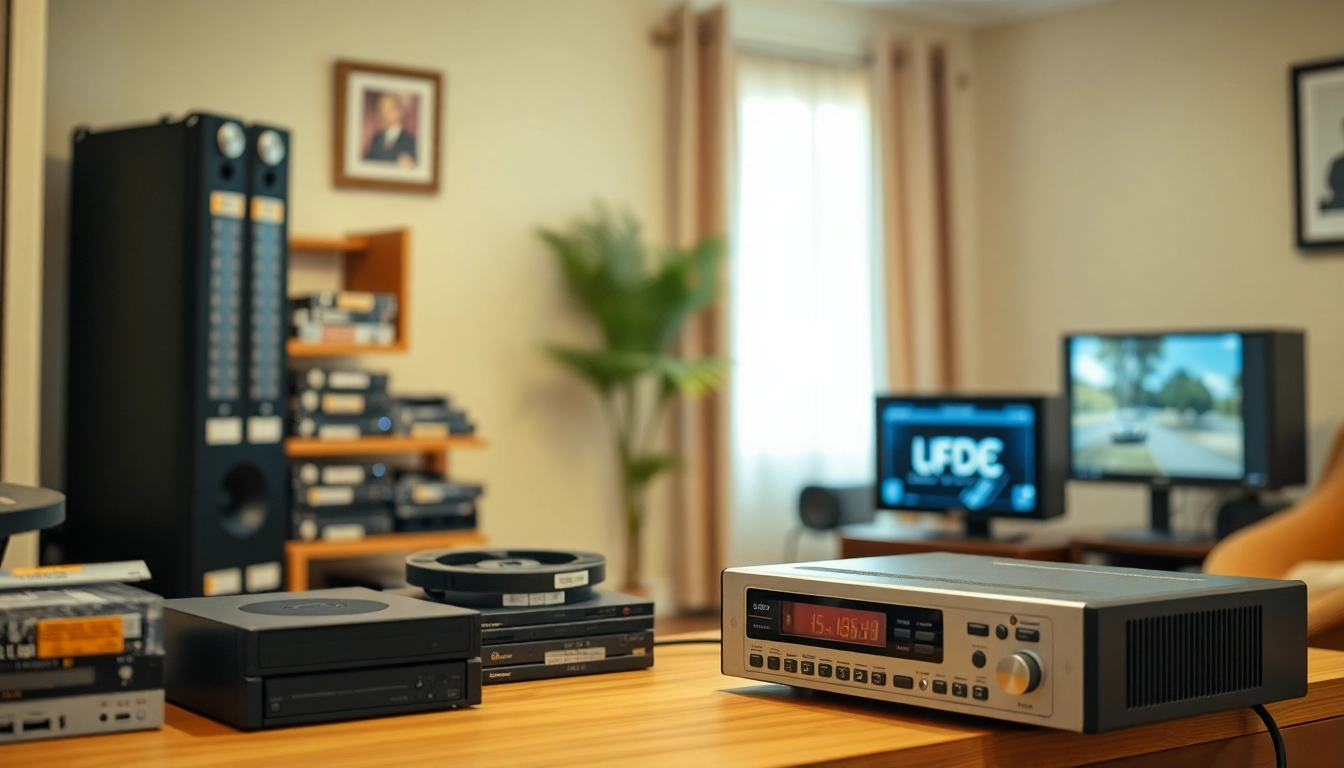
What is Tapes To Digital?
Tapes to digital conversion encompasses various methods used to digitize audiovisual content stored on different tape formats. This process involves transferring data from physical tapes (like VHS or Hi8) to digital files (such as MP4, MOV, etc.) that can be stored on computers, DVDs, or cloud services. The journey of converting tapes to digital can be broken down into a simple three-step process: capturing the video/audio from the tape, encoding it into a digital format, and storing it in a manageable medium.
Benefits of Digitizing Your Tapes
There are numerous compelling reasons to digitize your tapes:
- Preservation: Tapes degrade over time; digitization halts this process and preserves the contents indefinitely.
- Accessibility: Digital files can be easily accessed, shared, and edited using various devices, ensuring your memories are always available.
- Space-saving: Digital storage requires significantly less physical space than retaining numerous tape collections.
- Enhancements: Digital formats allow for enhancements such as video stabilization, noise reduction, and even color correction, improving the viewing experience.
- Legacy: You can create backup copies and share digital memories with family and friends easily, ensuring that your legacy lasts for generations.
Common Tape Formats and Their Unique Challenges
Several different tape formats are in circulation, each presenting its own unique challenges:
- VHS: One of the most popular formats, VHS tapes are prone to physical damage and magnetic degradation over time.
- Betamax: Though Betamax quality is often superior compared to VHS, the tapes also face similar degradation issues, along with difficulties in finding compatible players.
- Hi8: This format is known for its better picture quality, but like VHS, the tapes deteriorate, and you may struggle to find working players.
- DAT: Digital Audio Tapes offer good sound quality but can also face issues with playback due to hardware obsolescence.
Choosing the Right Conversion Method
When it’s time to convert your tapes, you have two main options: using professional services or employing DIY solutions. Each method has its advantages and disadvantages to consider.
Professional Services vs. DIY Solutions
Choosing between professional services and DIY solutions largely depends on several factors, including budget, time, quality expectations, and the quantity of tapes involved.
- Professional Services: These services often provide high-quality results without requiring you to invest in expensive equipment. Professionals have the expertise to handle various formats and can make adjustments to enhance quality during the transfer process. However, this convenience comes at a price, with costs typically varying based on the amount and type of tapes.
- DIY Solutions: If you’re tech-savvy and looking for a budget-friendly option, you can consider DIY conversion. Various hardware options are available, from simple USB capture devices to more complex setups involving video editing software. While the initial investment may be lower, results can vary widely in quality depending on your equipment and skill level.
Overview of Popular Tape To Digital Conversion Devices
Various devices can effectively assist in tape-to-digital conversion. Here are a few popular options:
- USB Capture Devices: These affordable devices connect to your computer and allow you to capture video from your tape player directly. They are user-friendly and suitable for basic needs.
- Dedicated Video Converters: More specialized hardware designed for high-quality conversions. They often include options for video enhancement and are ideal for users looking for superior results.
- All-in-One Converters: Some options incorporate built-in players, allowing you to transfer tapes to digital formats without needing an external player.
How to Ensure Quality in Your Digital Transfers
Ensuring quality during the conversion process involves several best practices:
- Utilize high-quality connectors and cables to minimize signal loss.
- Consider using a professional service for optimal results, especially with valuable or irreplaceable tapes.
- Monitor the transfer process carefully to ensure there are no disruptions or interruptions.
- Store your digital files in multiple formats and locations (like external hard drives and cloud services) to avoid data loss.
Step-by-Step Guide to Tapes To Digital Conversion
Once you’ve decided to digitize your tapes, the following steps will help you successfully carry out the conversion.
Preparing Your Tapes for Conversion
Preparation is critical for successful tape-to-digital conversion:
- Check for damage: Inspect your tapes for any visible damage, such as broken spools or crumpled casing.
- Clean your tapes: Use specialized tape cleaners, as dirt and dust can significantly degrade the quality of the transfer.
- Gather your equipment: Ensure you have the necessary hardware (tape player, connectors, converter) and software for the digital conversion process.
Using a Digital Converter: A Simple Process
To use a digital converter:
- Connect the tape player to your digital converter using RCA cables.
- Plug the converter into your computer via USB.
- Open the conversion software and select your audio/video input and choose the desired digital output format.
- Start the playback on your tape player while simultaneously capturing it through the software.
- Once the capture is complete, save the file to your designated storage location.
Post-Conversion Tips for Organizing Digital Files
Once you have converted your tapes, organizing your digital files ensures quick access and long-term preservation:
- Use clearly labeled folders to separate videos by date or event.
- Maintain backups on both external drives and cloud platforms to protect against data loss.
- Consider creating a digital library or database to catalog your titles, including details like date, format, and content descriptions.
Common Issues with Tapes To Digital
Understanding potential issues can help you troubleshoot effectively as you convert your tapes to digital.
Troubleshooting Audio and Visual Problems
Audio and visual problems can arise during the conversion process. Common issues include:
- Audio Sync Issues: This occurs when audio does not match video. Adjust settings in your software to sync tracks properly.
- Distortion or Noise: These issues can be due to old tapes or equipment. Consider enhancing files with audio and video editing software.
Maintaining Quality Over Time
To preserve the quality of your converted files:
- Store files in high-quality formats that are widely supported.
- Regularly back up your files to avoid data loss due to physical drive failures.
- Monitor file integrity by checking for errors or corruption during storage.
Recovering Damaged or Corrupted Tapes
If you encounter damaged or corrupted tapes, consider the following:
- Use specialized recovery services; some professionals specialize in recovering damaged tapes.
- Try cleaning the tapes and players thoroughly as dirt build-up may cause playback problems.
- If possible, digitize portions of the tapes separately to capture intact sections, even if the entire tape is not recoverable.
Exploring Advanced Options for Tapes To Digital
Beyond basic conversion, there are advanced options to consider that can enhance your digital library.
Cloud Storage and Sharing Solutions
Using cloud storage provides numerous advantages:
- Accessibility: Easily share your memories with friends and family without physical limitations.
- Security: Protect your files from physical threats like fire or theft.
- Space Saving: Eliminate the need for extensive physical storage options.
Additional Services: Photo and Document Digitization
Consider the added benefits of including a broader range of media for digitization:
- Scanned photos: Preserve printed photographs alongside your digital videos.
- Document digitization: Convert crucial documents to digital formats for storage and accessibility.
Future-Proofing Your Digital Library
Future-proofing involves taking steps to ensure that your digital library endures over time:
- Regular updates: Keep the software and hardware used for conversions updated.
- Choice of formats: Use commonly supported formats to ensure compatibility with future technologies.
- Redundancy: Create multiple backups in different locations (online and offline) to enhance protection against data loss.