Understanding Water Heater Types
Water heaters are essential appliances in most households, supplying hot water for various household needs. However, before diving into the how to fit water heater process, it’s critical to understand the different types of water heaters available, their capacities, and features. Selecting the right water heater can greatly influence energy efficiency, water output, and overall satisfaction.
1. Electric vs. Gas Water Heaters
Water heaters are primarily classified into two categories: electric and gas. Understanding the difference between these options is essential for selecting an appropriate water heater for your home.
Electric water heaters utilize electrical elements to heat water. They are generally easier to install and maintain due to the lack of the components required for gas heaters, such as a venting system. Additionally, electric models are less expensive upfront but may result in higher energy bills, depending on local electricity rates.
In contrast, gas water heaters use natural gas or propane to heat water. These models tend to heat water more quickly and have a lower operating cost over time compared to electric models. However, their installation may require professional assistance, particularly to ensure that gas lines and venting systems are properly set up for safety.
2. Choosing the Right Size
The size of your water heater is crucial for meeting your household’s hot water needs. A water heater that is too small will struggle to provide enough hot water, while one that is too large can lead to wasted energy and higher operating costs.
A good rule of thumb is to consider the number of people in your household and their hot water usage. For instance, a family of four typically requires a water heater with a capacity of 40 to 60 gallons. In contrast, smaller households might find a tank of 30 gallons sufficient, depending on daily hot water demand.
3. Common Features to Look For
When selecting a water heater, certain features can enhance efficiency and user experience:
- Energy Efficiency Ratings: Look for models with high energy efficiency ratings (Energy Star certified) to save on utility bills.
- Recovery Rate: This refers to the amount of water the heater can effectively heat in an hour. A high recovery rate is essential for larger families.
- Warranty: A longer warranty often signifies a better-built product, providing peace of mind about quality and reliability.
Essential Tools for Installation
Installing a water heater requires several essential tools to ensure the process runs smoothly and safely. Having the right equipment on hand can significantly improve efficiency and prevent potential mishaps.
1. Basic Hand Tools
Most water heater installations can be performed with basic hand tools. Key tools include:
- Pliers: Useful for tightening and loosening fittings.
- Pipe Wrench: Essential for grasping round shapes and tightening fittings.
- Screwdriver Set: Needed for various screws on the water heater and related components.
- Level: Ensures the water heater is installed straight, which is critical for operational efficiency.
2. Safety Equipment
Safety should always be prioritized. The following safety equipment is recommended while installing a water heater:
- Gloves: Protect your hands from sharp edges and hot surfaces.
- Safety Goggles: Prevent eye injuries from falling debris or accidental splashes.
3. Installation Kits
Depending on the type of water heater being installed, specialized installation kits may be required. This can include:
- Flexible Water Connectors: To easily hook up hot and cold water lines.
- Gas Connection Kits: Necessary for gas water heaters, including fittings and valves to ensure safe gas flow.
- T&P Valve Sets: Temperature and pressure relief valves are essential for safety with hot water tanks.
Preparation for Fitting a Water Heater
Preparation is key to a successful water heater installation. Taking the time to plan properly can save you time and reduce the likelihood of problems during the install process.
1. Gathering Required Materials
Before starting your installation, gather all necessary materials, including:
- The new water heater.
- Flexible water connector hoses.
- PVC or copper piping (depending on your preference and existing plumbing).
- T&P valve and discharge pipe.
- Electrical or gas lines as required.
2. Adjusting Your Space
Make sure the installation area is clean and clear of obstacles. Ensure there is adequate ventilation if installing a gas unit and secure a flat, level base for the heater. Additionally, verify that path access is clear for bringing in the new unit and removing the old one if necessary.
3. Ensuring Safety Protocols
Implement safety protocols before beginning the installation process. For gas heaters, shut off the gas supply to avoid leaks. For electric heaters, ensure the power is turned off to prevent electrical shocks.
Additionally, familiarize yourself with local building codes and safety regulations to ensure compliance during installation.
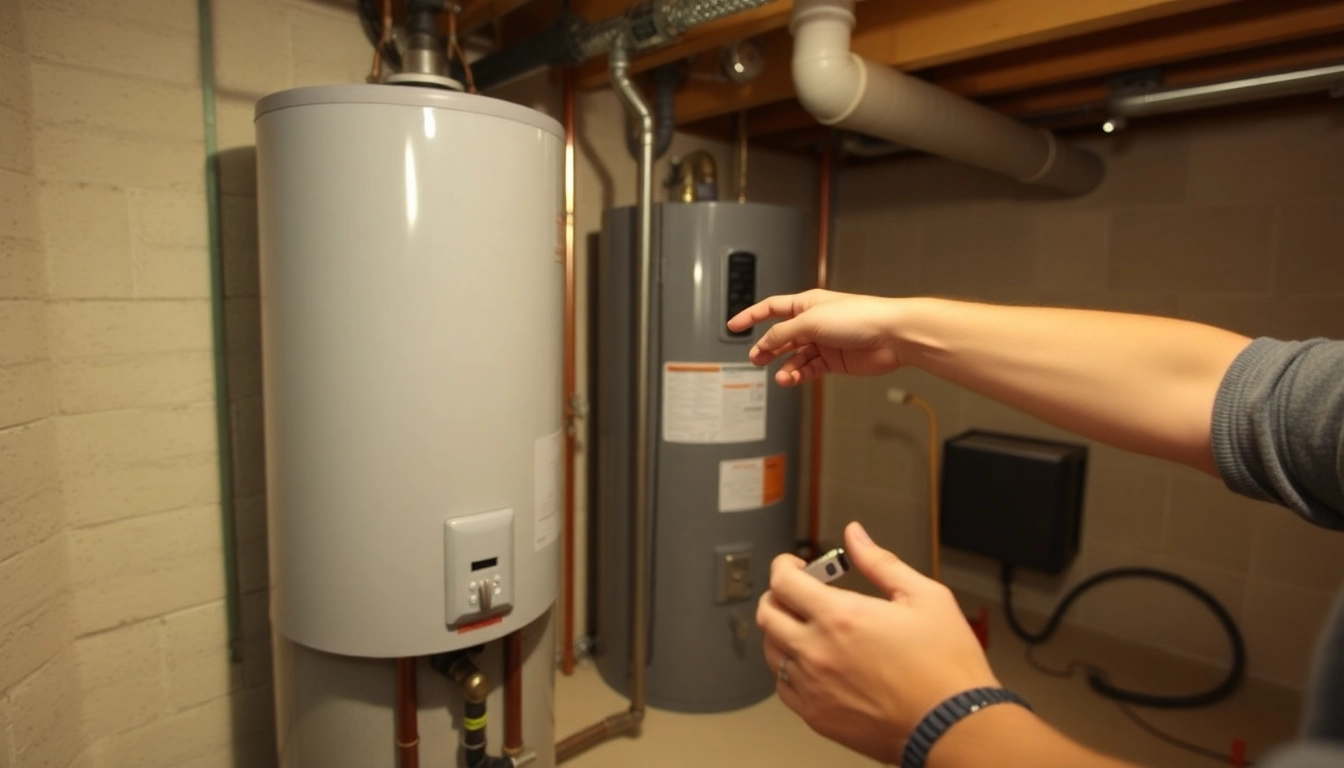
Step-by-Step Installation Process
Once preparations are complete, follow these detailed steps for a successful water heater installation:
1. Setting the New Heater in Position
Begin by placing the new water heater close to the installation area. Ensure it’s positioned on a flat, stable surface. It may be necessary to raise the unit slightly above the floor, especially for units that require clearance from the ground.
2. Connecting Water Lines and Fittings
Next, connect the cold and hot water supply lines. Typically, the cold water line will connect at the bottom of the heater, and the hot water line will connect to the top. Use adjustable wrenches to tighten the fittings securely without overtightening, which can damage the connectors.
3. Finalizing Electrical or Gas Connections
If you’re installing an electric water heater, connect the electrical wires according to the manufacturer’s instructions, ensuring grounding and the use of appropriate circuit breakers. For gas water heaters, connect the gas supply line while accurately fitting the gas line connector to prevent leaks. Once connected, use soapy water to check for any gas leaks by applying it to the joints and connections and observing for bubbles.
Post-Installation Considerations
After installation, there are important steps to take to ensure your water heater functions correctly and safely.
1. Checking for Leaks
Before fully operating your water heater, check all connections for leaks. Look at the fittings and valves connected to both water and gas lines. Turn on the water supply and let the tank fill while monitoring for any leakage signs.
2. Testing Your Water Heater
Once leak checks are completed, turn on the power supply or gas to the unit. Allow the heater to reach the desired temperature setting and check that it heats water effectively. For electric heaters, you should hear the sound of the heating elements coming on.
3. Maintenance Tips Moving Forward
Regular maintenance is crucial for extending the life of your water heater. Some recommended maintenance practices include:
- Flushing the tank annually to remove sediment build-up.
- Inspecting anode rods regularly and replacing them every few years.
- Checking temperature settings to ensure efficient operation—typically set to 120 degrees Fahrenheit.